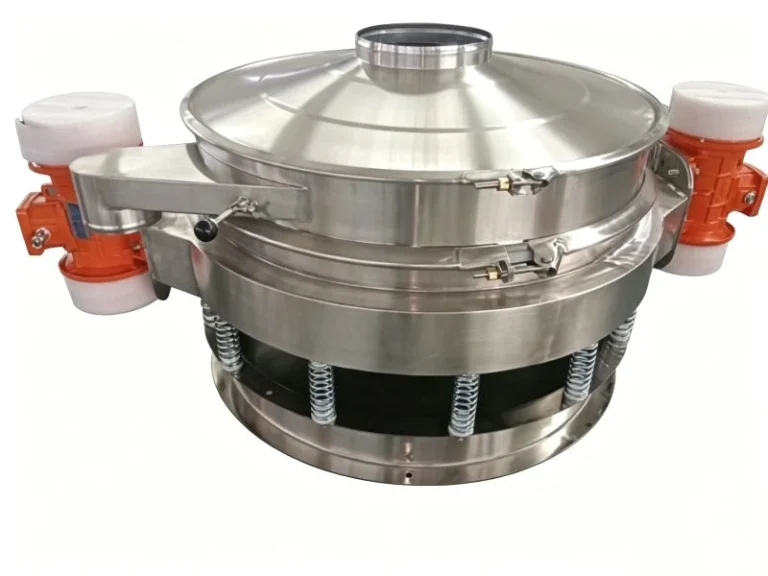
Jak skonfigurować i wyregulować ultradźwiękowy przesiewacz wibracyjny do przesiewania drobnego proszku
Drobny proszek może być trudny do przesiewania, gdy cząstki przyklejają się do sita lub powodują częste zatykanie oczek. Przesiewacz ultradźwiękowy dodaje wibracje wysokiej częstotliwości do siatki sita, aby pomóc drobnym cząstkom przechodzić przez otwory i zmniejszyć gromadzenie się materiału na sicie.
Jednak dobre wyniki przesiewania zależą od więcej niż tylko system ultradźwiękowy. Naciąg siatki sita, szybkość podawania, amplituda drgań, ustawienia ultradźwiękowe i przepływ materiału — wszystko to musi być odpowiednio dostosowane. Ten przewodnik wyjaśnia, jak skonfigurować i wyregulować przesiewacz ultradźwiękowy do przesiewania drobnego proszku, z praktycznymi wskazówkami dotyczącymi proszku do baterii, proszku farmaceutycznego, proszku chemicznego, proszku metalowego i innych drobnych materiałów.
Dlaczego prawidłowa konfiguracja ma znaczenie przy przesiewaniu drobnego proszku
Przesiewanie drobnego proszku wymaga stabilnych ustawień maszyny. Małe cząstki mogą przyklejać się do sita, gromadzić się na powierzchni przesiewającej lub blokować otwory sita. Gdy naciąg sita, szybkość podawania, drgania lub ustawienia ultradźwiękowe nie są prawidłowe, wydajność przesiewania może się zmniejszyć. Jeśli zatykanie oczek występuje wielokrotnie, zapoznaj się z naszym przewodnikiem zatykanie sit drobnym proszkiem aby zidentyfikować typowe przyczyny i odpowiednie metody zapobiegania.
Prawidłowy montaż i regulacja pomagają materiałowi przemieszczać się równomiernie po sicie, zmniejszają zatykanie oczek i utrzymują stabilną wydajność przesiewania.
Dlaczego drobny proszek jest trudny do przesiewania
Drobne proszki często mają słabą płynność i mogą się sklejać lub gromadzić ładunek elektrostatyczny. Podczas przesiewania cząstki te mogą pozostawać na sicie i blokować otwory. Jest to powszechne przy przesiewaniu proszku do baterii, proszku grafitowego, składników farmaceutycznych, proszku chemicznego, proszku metalowego i innych drobnych materiałów.
Problem staje się bardziej widoczny przy stosowaniu drobnych siatek lub siatek o dużej liczbie oczek. Jeśli warstwa materiału jest zbyt gruba lub szybkość podawania jest zbyt wysoka, mniej cząstek może mieć kontakt z otworami sita, co może dodatkowo zmniejszyć wydajność przesiewania.
Jak drgania ultradźwiękowe pomagają zapobiegać zatykaniu oczek sita
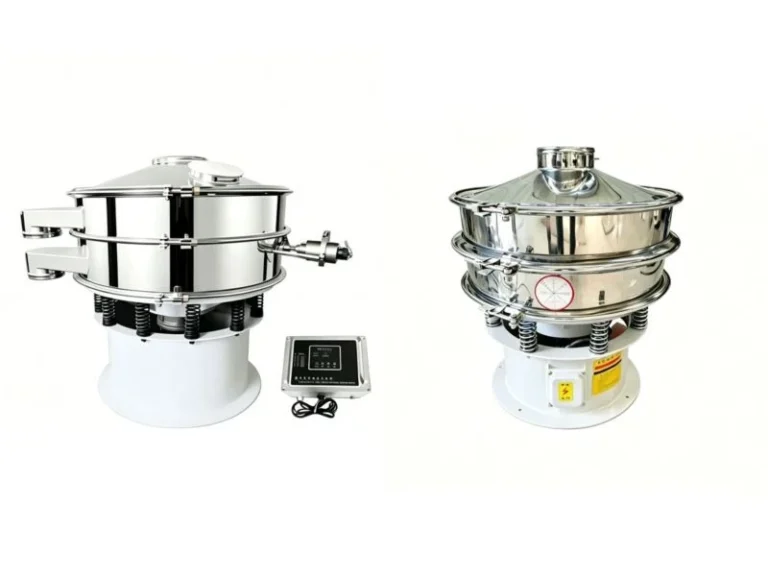
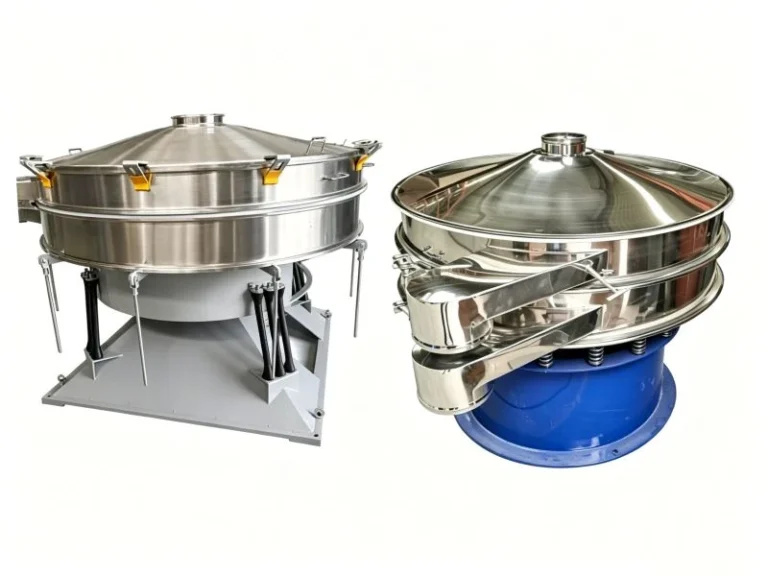
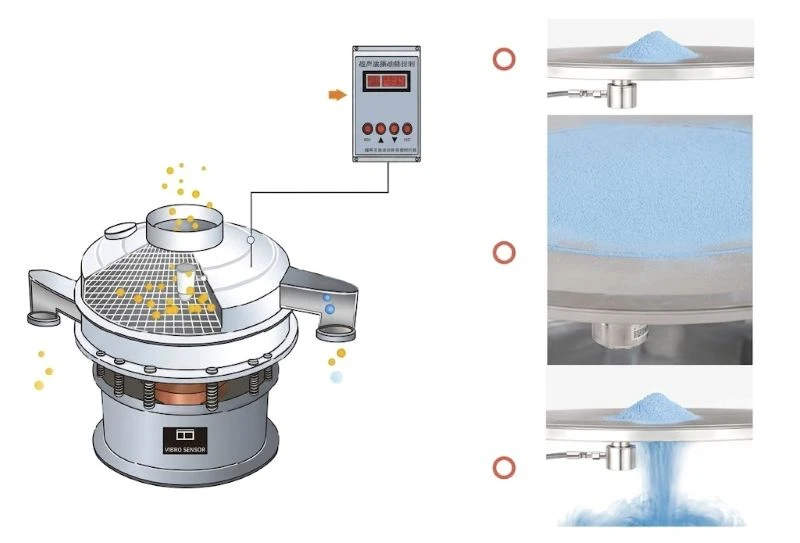
Ultradźwiękowe sito wibracyjne ultradźwiękowy przesiewacz wibracyjny łączy normalne drgania mechaniczne z drganiami wysokiej częstotliwości na siatce sita. Główne drgania przemieszczają materiał po sicie, podczas gdy system ultradźwiękowy wytwarza drgania wysokiej częstotliwości na powierzchni siatki.
Te drgania pomagają zmniejszyć przyczepność cząstek i utrzymują ruch drobnych cząstek przez otwory sita. Jest to szczególnie przydatne przy przesiewaniu drobnego proszku, gdzie konwencjonalny przesiewacz wibracyjny może mieć problemy z zatykaniem oczek lub niską wydajnością przesiewania.
System ultradźwiękowy nie zastępuje głównego systemu drgań. Oba systemy muszą współpracować z odpowiednim sitem, szybkością podawania i ustawieniami maszyny.
Kiedy należy używać przesiewacza ultradźwiękowego?
Przesiewacz ultradźwiękowy jest odpowiednim wyborem, gdy konwencjonalne przesiewanie ma problemy z zatykaniem oczek, niską wydajnością lub niestabilnym przesiewaniem drobnego proszku.
Jest powszechnie stosowany do drobnych proszków i zastosowań z sitami o dużej liczbie oczek, w tym materiałów do baterii, proszku grafitowego, proszku farmaceutycznego, proszku chemicznego, proszku metalowego, proszku ceramicznego i innych materiałów trudnych do przesiewania za pomocą standardowego przesiewacza wibracyjnego.
Jak skonfigurować przesiewacz ultradźwiękowy
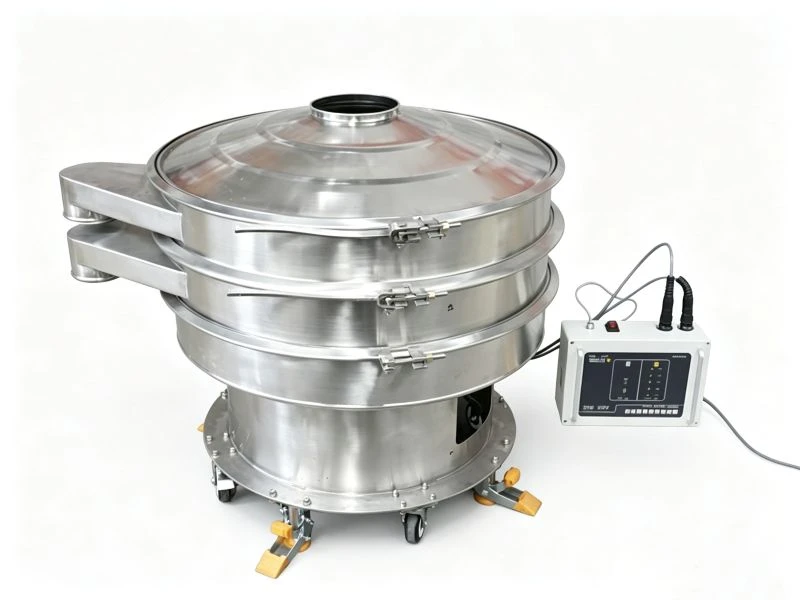
Prawidłowa konfiguracja to pierwszy krok do stabilnego przesiewania drobnego proszku. Przed uruchomieniem maszyny sprawdź warunki instalacji, siatkę sita, system ultradźwiękowy i zasilanie, aby upewnić się, że wszystkie części są prawidłowo podłączone.
Krok 1: Przygotuj miejsce instalacji i wykonaj połączenia
Miejsce instalacji powinno spełniać wymagane warunki pracy. Dla sprzętu opisanego w tym przewodniku zalecana temperatura otoczenia wynosi 0°C do 55°C, przy wilgotności względnej od 30% do 90% bez kondensacji.
Pozostaw co najmniej 50 cm przestrzeni wokół maszyny do obsługi i konserwacji. Użyj niezawodnego zasilania AC 220 V z prawidłowym uziemieniem.
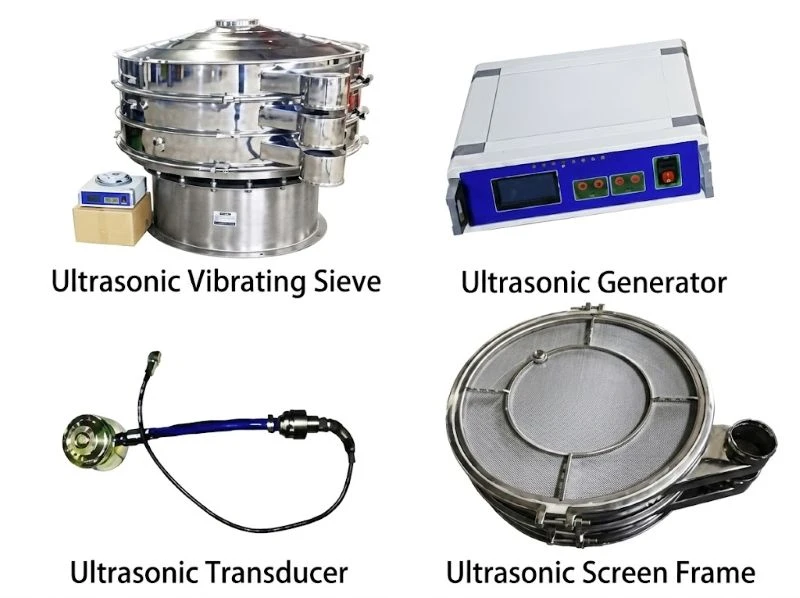
Podłącz generator ultradźwiękowy do złącza ultradźwiękowego przesiewacza wibracyjnego zgodnie z etykietami kabli. Upewnij się, że złącza są całkowicie wsunięte i zablokowane. Połączenie między przetwornikiem ultradźwiękowym a systemem sita również powinno być bezpieczne.
Krok 2: Uruchom sprzęt i sprawdź warunki pracy
Przed uruchomieniem generatora ultradźwiękowego wyłącz zasilanie i ustaw pokrętło precyzyjnej regulacji w niskiej pozycji. Następnie włącz generator i sprawdź parametry pracy.
Dla sprzętu w tej konfiguracji normalny prąd roboczy powinien wynosić poniżej 200 mA. Sprawdź również, czy nie występują nietypowe odgłosy, nietypowe drgania, sygnały ostrzegawcze lub inne oznaki nieprawidłowej pracy.
Nie rozpoczynaj ciągłej produkcji, dopóki maszyna i system ultradźwiękowy nie będą działać prawidłowo.
Krok 3: Wyreguluj przesiewacz wibracyjny i ustawienia ultradźwiękowe
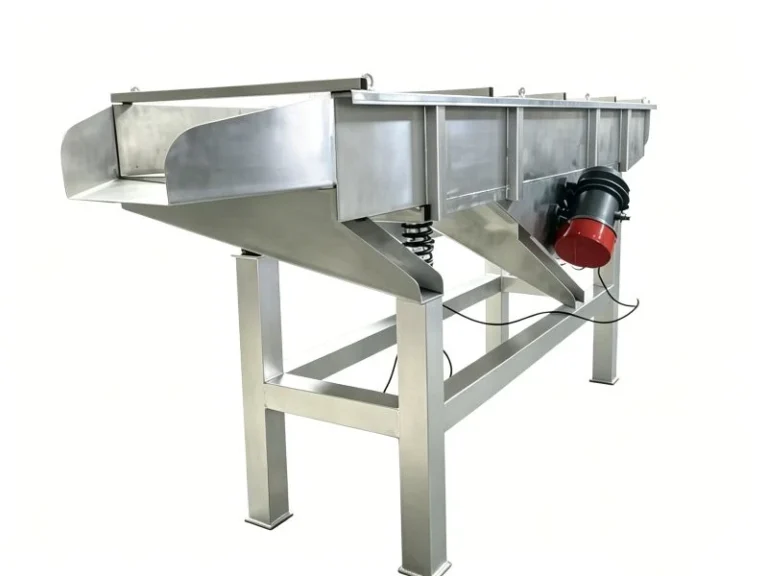
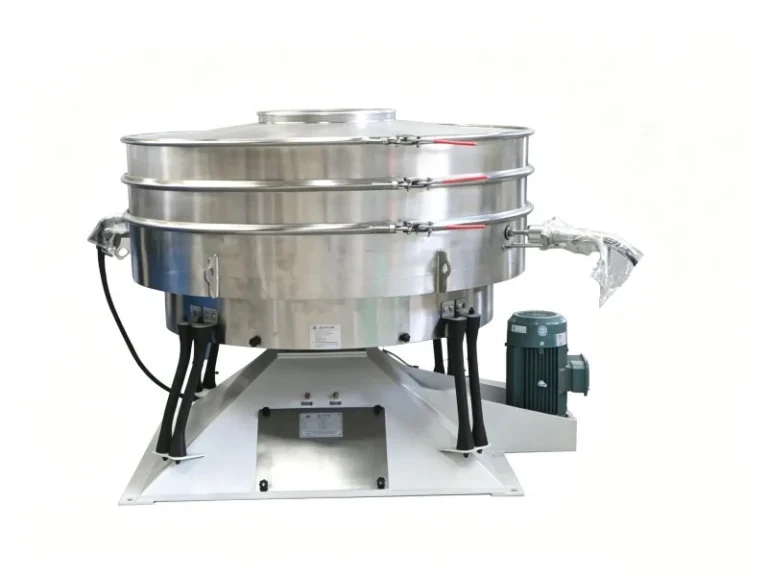
Najpierw wyreguluj trójwymiarowy przesiewacz wibracyjny tak, aby materiał poruszał się po sicie w odpowiednim wzorcu ruchu. Następnie dostosuj częstotliwość drgań, amplitudę i tryb sterowania zgodnie z materiałem i wymaganiami przesiewania.
Uruchom przesiewacz z niewielką ilością materiału. Powoli reguluj generator ultradźwiękowy i obserwuj, jak materiał przechodzi przez siatkę. Prąd roboczy powinien pozostać poniżej 200 mA podczas regulacji.
Małe zmiany są lepsze niż duże korekty. Wprowadzaj jedną zmianę na raz i sprawdź wynik przesiewania przed wykonaniem kolejnej zmiany.
Krok 4: Przetestuj maszynę przed normalnym podawaniem
Gdy warunki przesiewania staną się stabilne, stopniowo zwiększaj szybkość podawania. Sprawdź, czy materiał jest równomiernie rozmieszczony, czy drobne cząstki przechodzą przez siatkę i czy występuje zatykanie oczek.
W razie potrzeby wprowadź niewielkie korekty częstotliwości ultradźwiękowej, amplitudy drgań lub szybkości podawania. Gdy maszyna będzie działać stabilnie, przeprowadź test ciągły i sprawdź siatkę sita, przetwornik ultradźwiękowy i inne kluczowe części przed rozpoczęciem normalnej produkcji.
Jak wyregulować przesiewacz ultradźwiękowy
Regulacja przesiewacza ultradźwiękowego powinna być oparta na materiale, siatce sita, szybkości podawania i wymaganym wyniku przesiewania. Główne ustawienia obejmują amplitudę drgań, częstotliwość ultradźwiękową, kąt sita, szybkość podawania i czas przebywania materiału.
Adjust the Vibration Amplitude
The vibration amplitude can be adjusted in several ways depending on the machine design.
For the ultrasonic system, changing the output power of the ultrasonic generator can change the ultrasonic vibration amplitude. Turn the power adjustment knob gradually and observe the screening result. Avoid increasing the power too quickly.
The mechanical vibration amplitude can also be adjusted by changing the counterweight of the vibration motor. The lower weight mainly affects the vertical vibration, while the upper weight mainly affects the horizontal movement of the material.
The position and weight of the counterweights affect the material movement and vibration strength. When making adjustments, mark the original position first and make small changes, such as 15° to 30° at a time, then check the machine response.
For regular operation, a counterweight angle of around 60° to 90° is generally recommended for the equipment described here. Avoid keeping the weights locked at 0° for long periods, as this may increase the load on the bearings.
Replacing the ultrasonic transducer is another way to change the vibration characteristics, but this is normally considered only when the existing transducer does not match the application.
Optimize the Vibration Frequency
The vibration frequency affects how quickly the material moves across the screen. A suitable frequency helps the powder spread evenly and gives fine particles enough opportunity to pass through the mesh.
Do not simply use the highest frequency. Start with the recommended setting for the equipment and material, then make small adjustments while checking the screening efficiency and mesh condition.
The best setting depends on the material properties, screen mesh, feed rate, and required capacity.
Adjust the Screen Angle
The screen angle affects material flow speed and screening time. A suitable angle allows the material to move steadily across the screen without leaving the screen too quickly.
For the equipment and application described here, a screen angle of around 15° can be used as a reference. For some circular vibrating screen designs, 16° to 20° may be suitable.
If the angle is too low, material may move slowly or roll backward on the screen. If it is too high, the material may move too quickly and have less time to pass through the mesh.
The actual angle should be adjusted according to the material, screen size, particle size, and required output.
Control the Feeding Rate
Feeding rate has a direct effect on fine powder screening efficiency. If too much material enters the screen at once, the material layer becomes too thick and fewer particles can reach the mesh openings.
Use a steady and even feeding rate instead of feeding a large amount of material at once. This helps prevent material buildup and reduces the risk of mesh clogging.
Improve Material Distribution
The material should be spread as evenly as possible across the screen surface. A distributor or guide plate can be used when needed to prevent material from collecting in one area.
Uneven feeding means that part of the screen may be overloaded while another part is not fully used. Better material distribution helps make full use of the available screening area.
Increase Screening Time When Needed
Some difficult-to-screen materials need more time on the screen to reach the required separation accuracy. If the material moves too quickly, some fine particles may leave the screen before passing through the mesh.
For certain applications, a gate can be installed near the discharge outlet to increase the material residence time. This should be done carefully because excessive residence time can reduce production capacity.
Common Ultrasonic Vibrating Screen Problems and Solutions
An ultrasonic vibrating screen usually relies on three key systems for fine powder screening: the vibration motor, ultrasonic screening system, and screen mesh. When screening efficiency decreases, these parts should be checked first.
Vibration Motor Problems
The vibration motor provides the main driving force for the screen. If the motor’s excitation force changes because of wear, loose parts, or other operating problems, the material movement can become unstable and affect screening efficiency.
Regular inspection and maintenance of the vibration motor can help keep the machine running properly. Check for abnormal noise, excessive vibration, loose fasteners, and other signs of motor problems.
Ultrasonic Transducer Problems
The ultrasonic transducer is a key part of the ultrasonic screening system. It converts electrical energy from the generator into high-frequency vibration that is transferred to the screen mesh.
Common problems include moisture, damaged ceramic components, overheating, or bonding failure.
If moisture is suspected, the transducer can be checked with a megohmmeter. For the equipment described here, the insulation resistance should normally be above 5 MΩ. If the value is too low, the transducer may need to be dried in a suitable oven or with controlled warm air until the insulation resistance returns to the required range.
If the ceramic component is cracked or the transducer is damaged, the faulty unit should be replaced or repaired by qualified personnel. A damaged transducer should not be forced to operate.
If the transducer bonding has failed after long-term use, it may be possible to re-bond it depending on the transducer design and manufacturer requirements.
Screen Mesh Problems
The screen mesh is another common cause of low screening efficiency. Loose tension, incorrect installation, excessive material loading, unsuitable mesh specifications, or damaged mesh can all affect screening accuracy.
Fine powder applications often use fine or high-mesh screens, so mesh quality and installation are especially important. Select the correct mesh opening and material for the application, check the mesh tension regularly, and replace damaged or worn mesh in time.

How to Maintain an Ultrasonic Vibrating Screen
Regular maintenance helps keep the ultrasonic vibrating screen stable and extends the service life of key components.
Check and Lubricate the Bearings
The bearings carry the operating load of the vibrating screen and vibration motor. Proper lubrication is important for bearing life and machine performance. Check the bearing condition regularly and use the correct lubricant according to the equipment manufacturer’s requirements.
Check for Abnormal Noise and Vibration
During operation, pay attention to unusual noise, excessive vibration, or changes in material movement. These may indicate problems with the vibration motor, bearings, screen frame, or other components.
Inspect Wear Parts Regularly
Check the screen mesh, sealing parts, fasteners, transducer, and other wear parts during regular maintenance. Replace damaged or worn components before they affect screening performance.
Keep the Ultrasonic Transducer Clean
Check the surface of the ultrasonic transducer and remove any powder or material buildup. A clean transducer helps maintain stable vibration transfer.
Do not apply excessive pressure to the transducer and keep it away from water and unnecessary impact.
Keep the Ultrasonic Generator Well Ventilated
Place the ultrasonic generator in a clean and well-ventilated area. Good airflow helps remove heat during operation and can extend the service life of the generator.
Wnioski
A good ultrasonic vibrating screen setup starts with the correct screen mesh and proper installation. During operation, the vibration amplitude, ultrasonic frequency, feeding rate, screen angle, and material residence time should be adjusted according to the actual screening condition.
For fine powder applications such as battery powder, pharmaceutical powder, graphite powder,and aluminum powder, do not rely on ultrasonic vibration alone. Keep the mesh properly tensioned, feed the material evenly, check the vibration system regularly, and keep the ultrasonic transducer and generator in good condition.
With the right setup and regular maintenance, an ultrasonic vibrating screen can reduce mesh clogging, improve fine powder screening efficiency, and provide more stable screening performance.